Index | Tutorial 1 | Tutorial 2
The Outsiders' Featured Tutorials are selected from a variety of sources including the best tutorials from the
impressive archive on The Xara Xone (created by Gary Priester), Guest Tutorials submitted by Xara enthusiasts and
new material created by Xara.
An Introduction to Creating 3D Photos and Text Effects in Xara Xtreme
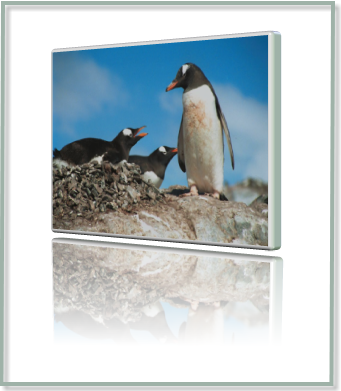
The new Extrude tool is not just great for creating incredible vector extrudes, but it can also rotate photographs in 3D as well.
By creating a mirrored copy in combination with the transparency tool to create a graduated reflection, you can create
this effect, an increasingly common graphic design look.

Open the .xar file and in File Explorer window locate your photo. Then just drag any photo from your hard disc on top of one of the images.
You will also need to drag it onto the reflection as well (it will automatically be orientated upside down so it's an accurate reflection of the top image). Easy!
In the case above, the black graduated rectangle behind the photos is used as a ClipView.
Creating this image from scratch
Xara Xtreme doesn't create the reflected images automatically, so you have to manually create the top and reflected images separately. Each is a separate extruded
3D image, and the angles are adjusted purely visually to simulate the reflected effect.
So these are the steps to create a reflected 3D photo from scratch:
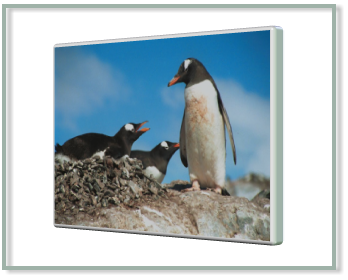
- Drag and drop your photo onto a blank page and resize it as required. In this case to be about 300 pixels wide.
- Go to the Extrude tool and drag on the image and rotate it to the desired angle. In this case I'm creating a left facing image, so all I will do is drag leftwards on the image.
To get it exactly accurate, hold down the CTRL key while you drag, which constrains it to rotate exactly horizontally. In this case you can do it numerically - Angle2 is set to be 42 degrees.
- I have adjusted the depth of the extrude by dragging on the side of the photo, so in this case to an extrude depth value of 9 (you can use the first drop down menu to see
or enter the values numerically). So my image now looks like this:

- Clone the image to make an exact copy on top. Then using the Selector tool click the flip vertically icon. Move the copied image below the top image (again hold Ctrl down to
constrain the move to be exactly vertical). It's the wrong 3D angle, but should now look like this:

- Now drag on the face of the lower image, but this time holding down the Shift key, and drag slightly downwards, so that the reflection is now at the right angle. Or if you want
to use the exact values I've used here, then select Angle 1 from the InfoBar, and a value of 11 degrees. Then put the lower object to the back (Ctrl+B) and drag it back up so the top
and bottom edges align. It should now look like this:

- You might want to make tiny manual adjustments to the angle or size to better align the top and reflected image. Then just select the Transparency tool and select the lower image, and drag downwards
from about the middle of the top image to create the faded reflection effect. In this case I've moved them apart slightly so it looks as if it's floating off the surface.

- Finally draw a rectangle behind both images, give it a graduated background to emphasize the 'on a table' look. In this case it's a three stage fill from pale blue, to grey, to black.
� Xara Group 2008
| 


