© Xara Group 2008

Frame 3
Open the Layer Gallery. Select Frame 2 and click Copy to
create the third and final frame.
Now all you need to do is set the transparency to zero for
the last two lines of text ‘from all at Xara’ so these final
two lines of text fade in. Preview again to check it works
as expected.
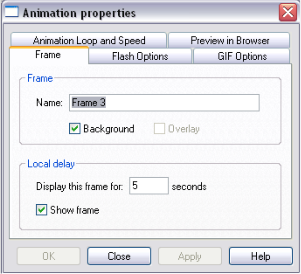
You will probably want
to experiment with the
frame timings a bit - in
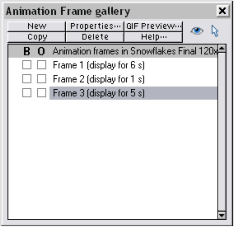
the Frame Gallery select
your frame, click on the
Properties button and
you can change the
display period for that
frame. To change the
overall smoothness of
the movie select the
Flash Options tab and
adjust Frames per
second rate. A value of
24 produces a nice
smooth animation.
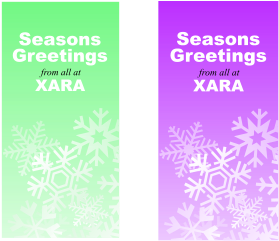
Of course it’s also a snip to experiment with different color
schemes because we have used Named Colors. Right click on
the Theme Color 1 or 2 patch on the Color Line and open the
Color Editor and you’ll see that everything using the Theme
Color and its associated Linked Colors changes interactively
as you move the indicator in the color square.
Once you are happy with the frame timings and colors,
hopefully all that remains is to export it as Flash. File >
Export Animation and select Flash swf from the drop down
list of file types.


Xara Xtreme - Xmas Flash Animation -4-
Experiment with the display time for each frame


